Security

Inside the Security section, there will be the settings and recommendations to help you keep your Porta Account secure and risk-free.
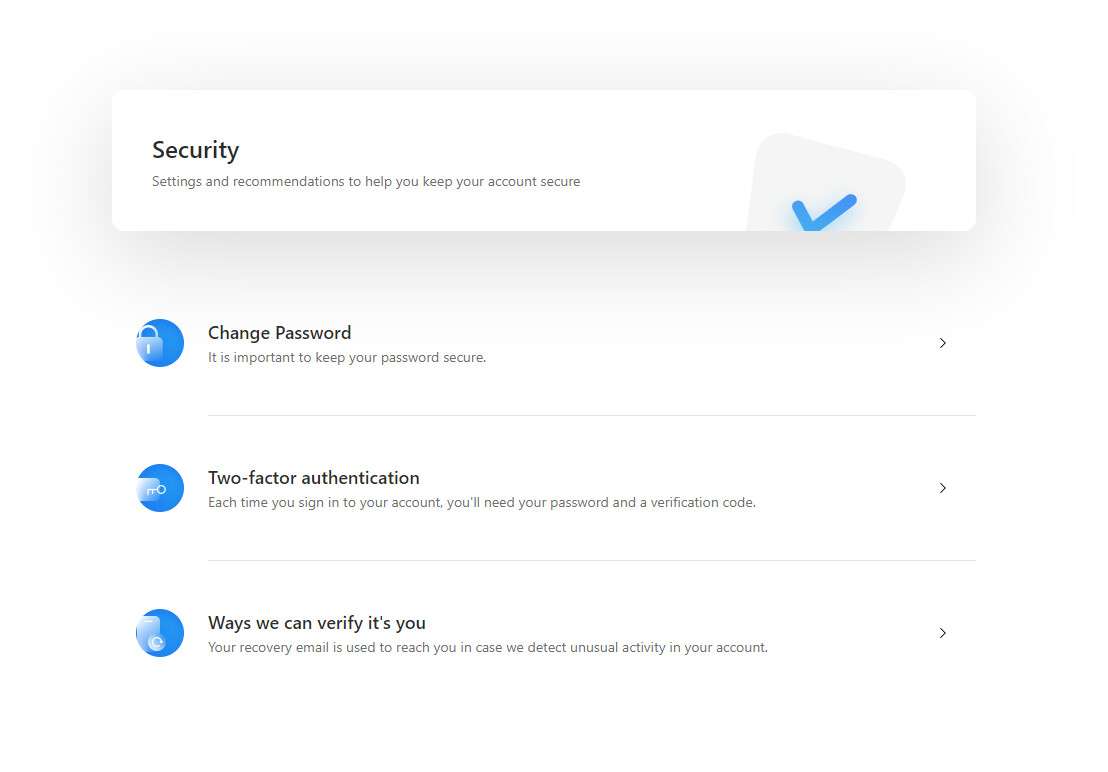
Here, see the belonging sections such as Change Password, Two-Factor Authentication, and Ways we can verify it’s you - Recovery Email.
Change Password
In the first section, there is the Change Password section where you can change your password and set a new one.

Changing the account’s password is very easy, just click Change Password and a new page will be displayed.
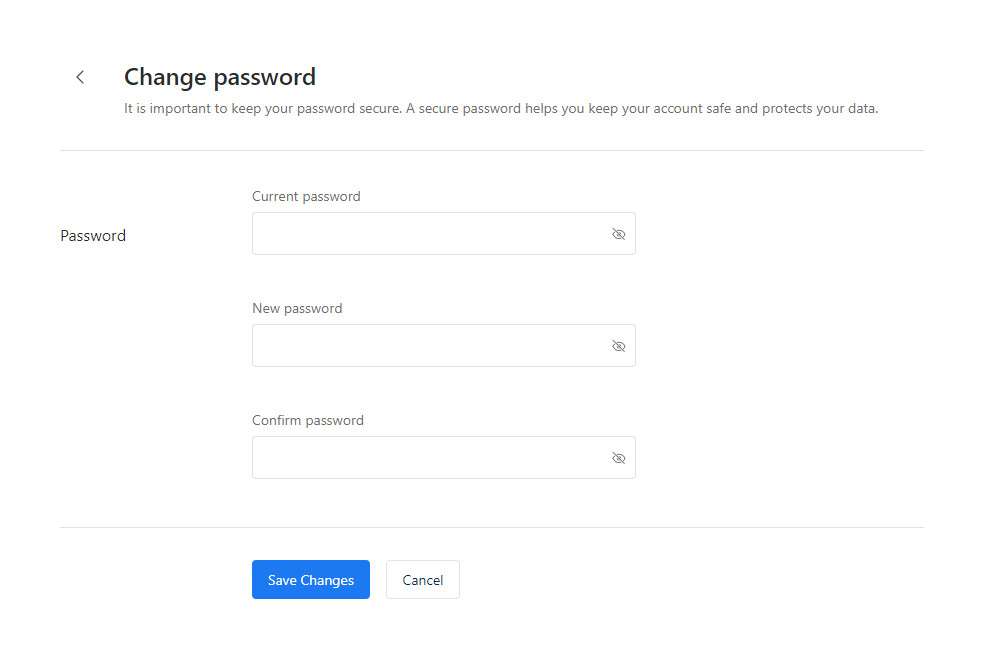
To change the account’s password, one would need to fill the Current Password, New Password, and Confirm Password fields, once that is done click Save Changes to save the new password or Cancel to keep the current one and discard the changes.
Once done with the Change Password, go back to the Security section.
Two-factor Authentication
Let’s take a look at the Two-Factor Authentication. If you are not familiar with it, Two-Factor Authentication (2FA) works by adding an additional layer of security to your online accounts. It requires an additional log-in credential – beyond just the username and password – to gain account access, and getting that second credential requires access to something that belongs to you.

Go ahead and click Two-Factor Authentication.
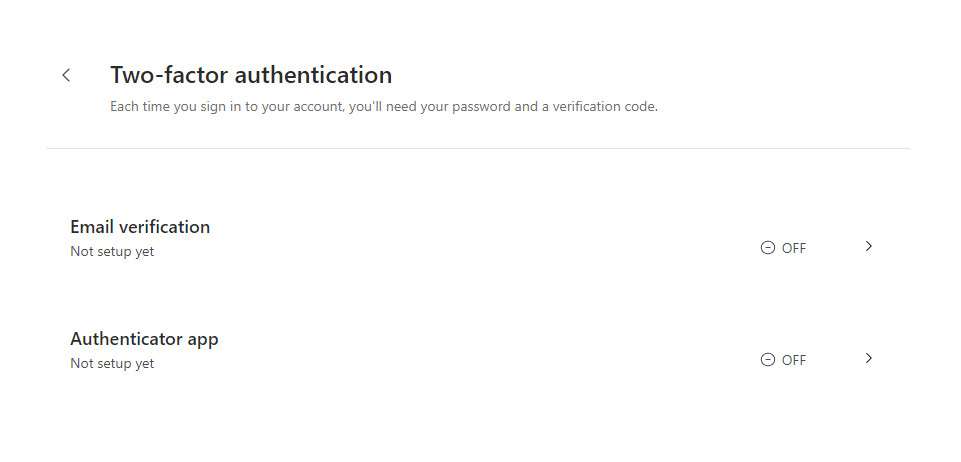
Here two options will be displayed, the first one is Email Verification and the second one is the Authenticator App Verification.
Email Verification
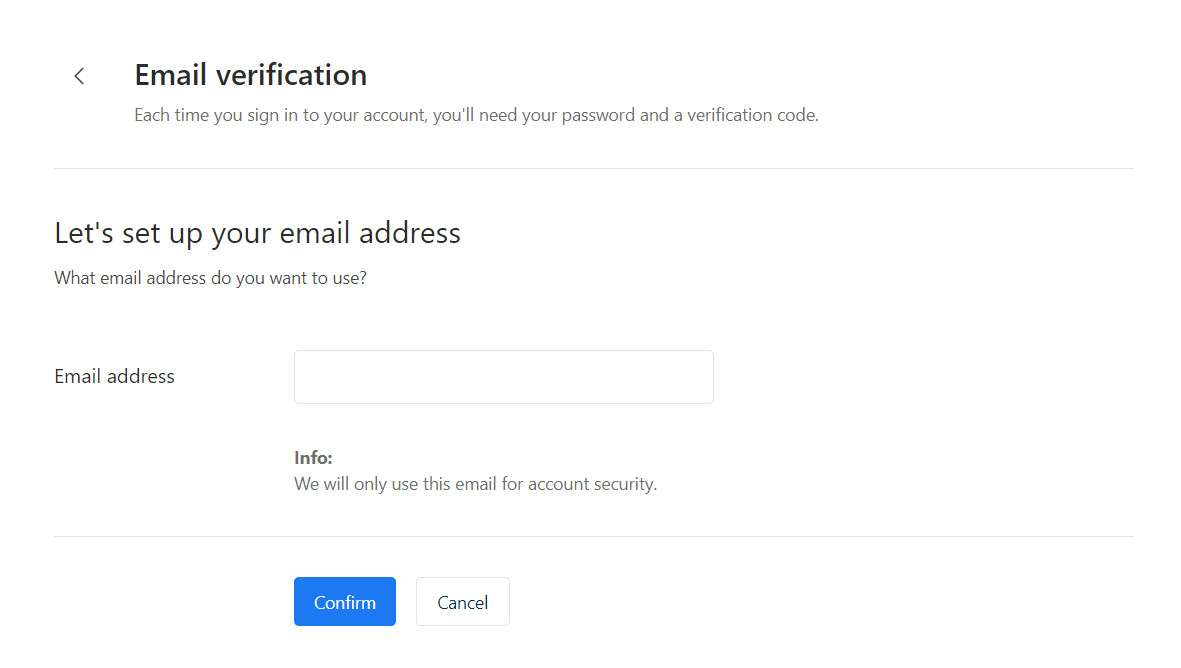
To enable Email Verification, set up an email where each time you sign in to your Porta Account, you’ll need the account’s password and an extra verification code that will be sent to the email address that is set up in the Email Verification.Once the email is set, click Confirm and a new window will pop up. Here a verification code is required, that code will be sent to the email that was just set up.
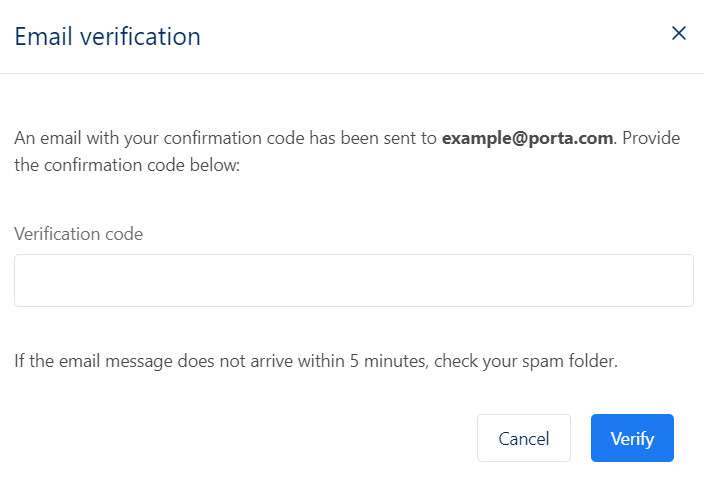
Go to the email address that was set up and look out for the Security Code email.
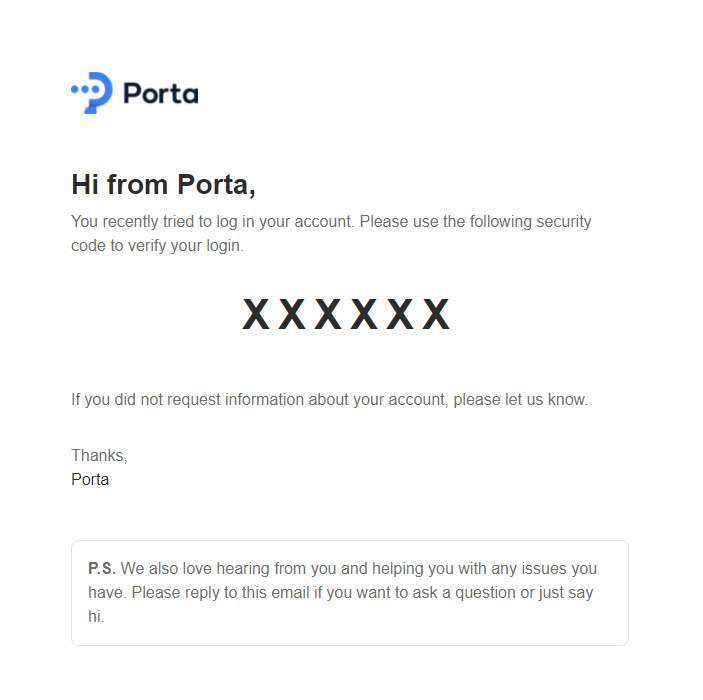
Use the received 6-digit code to confirm the set up of your email in the Email Verification.
Once done with the Email Verification, the recovery codes will appear.
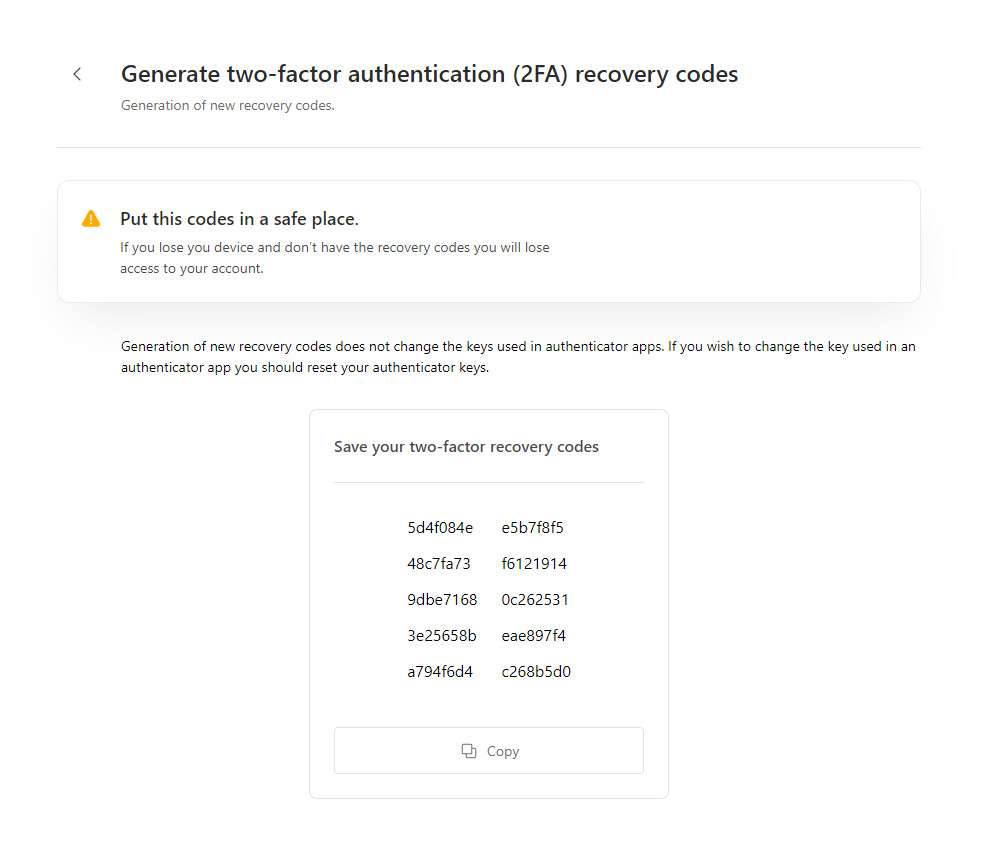
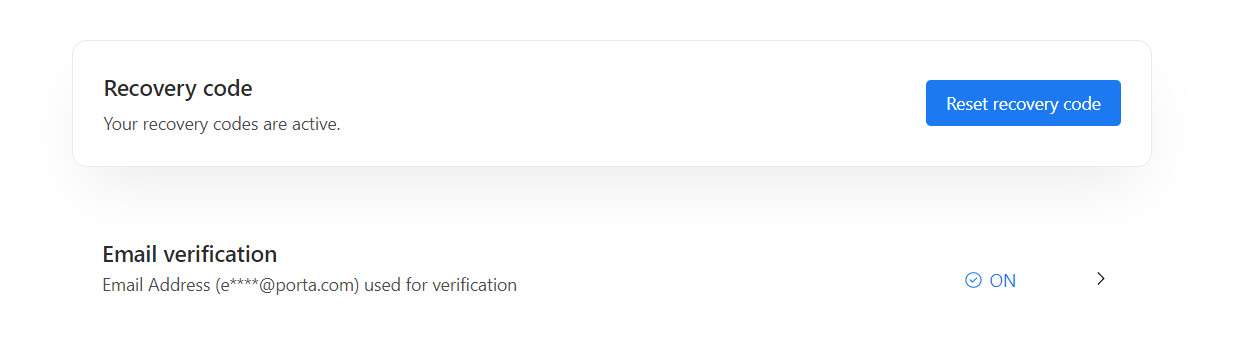
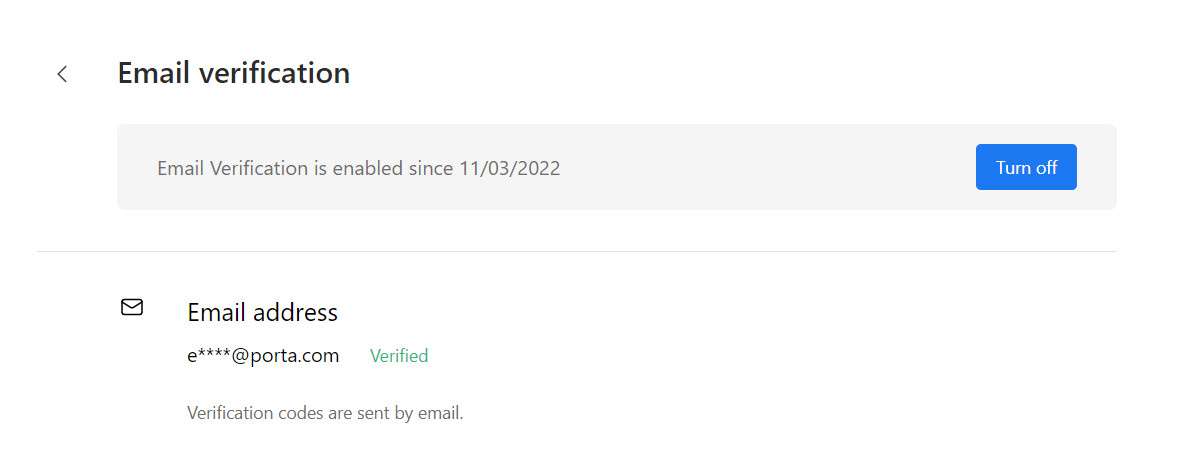
Keep these codes in a safe place, each of these codes can be used only once to log in to Porta Account. Now go back to the Two-Factor Authentication section and see the Email Verification. It should look like this:
To disable the Email Verification, just go back to Email Verification and click the Turn Off button.
Authenticator App
How does the Authenticator Application Verification work you might ask? An Authenticator Application is an app that adds 2FA to accounts you want to protect. When you set up your account for 2FA, you will receive a secret key to enter into the authenticator app. This establishes a secure connection between the Authenticator Application and your Porta Account.
Configuring the Authenticator Application
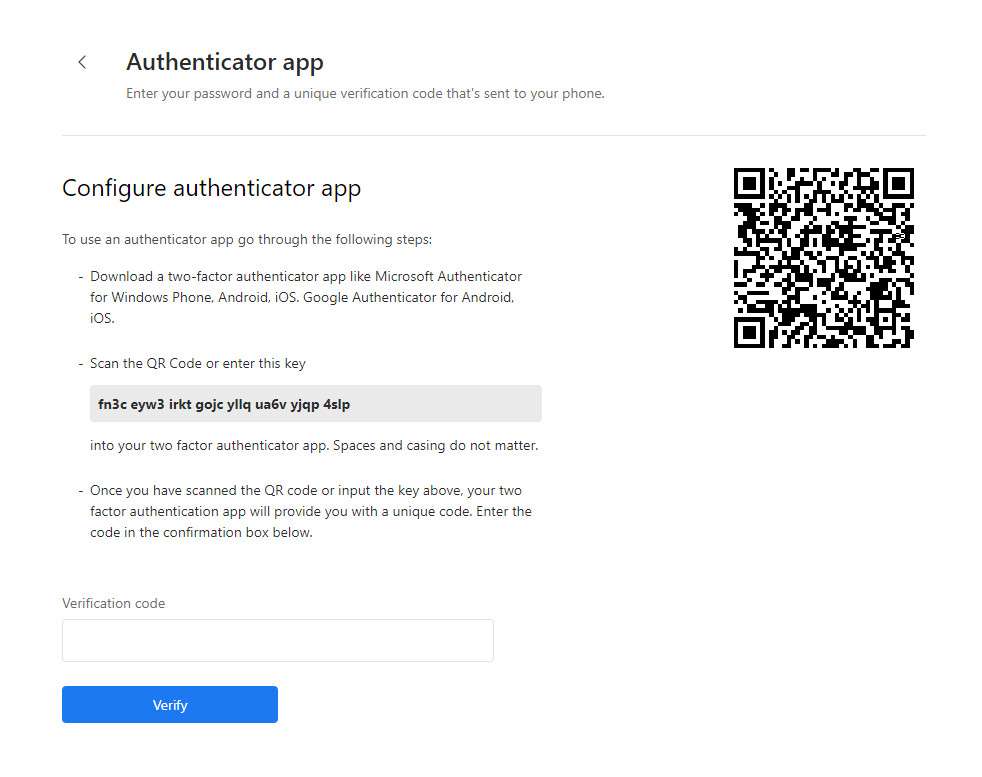
First you would need to Download a two-factor authenticator app like Microsoft Authenticator for Windows Phone, Android, iOS. Google Authenticator for Android or iOS.
Then, scan the QR Code or enter the long provided key, each time the key is different.

Once you have scanned the QR code or input the key above, your two-factor authentication app will provide you with a unique code. Enter the code in the confirmation box below.
When done, click the Verify button. Once you set it up, it’ll look something like this:
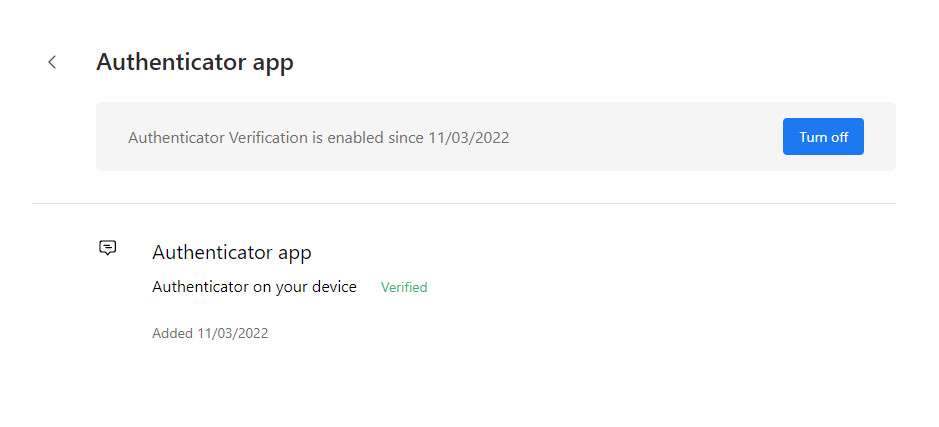
To turn it off, just click the Turn Off button.
How to use Email Verification and Authenticator App Verification ?
The next time you try to log in after setting up Email Verification and Authenticator App Verification, you will have an extra layer of security before you can proceed to your Porta Account.After inputting your Email and Password then you would need to verify via one of the required verification steps which is up to you.

If Authenticator App Verification is picked, then another page will be displayed.
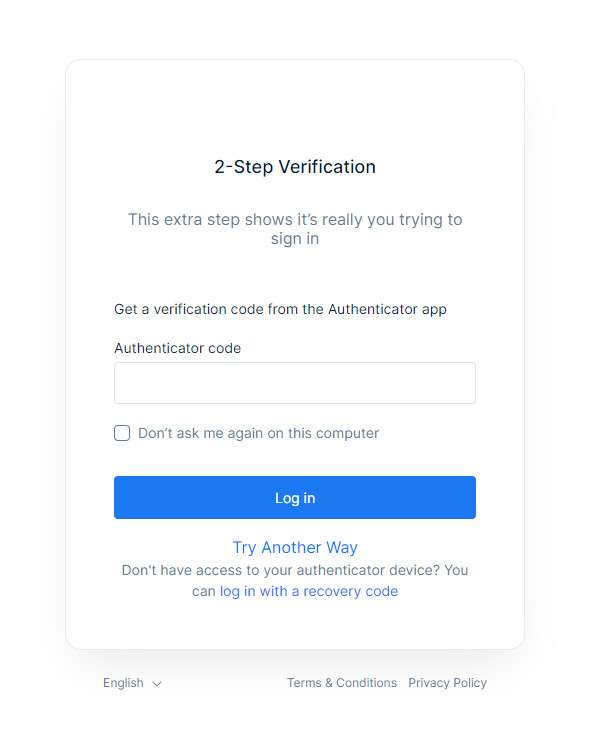
Get the code from the Authenticator App you’re using and input it in the Authenticator Code field then go on by clicking Log In.
If Email Verification is picked, then another page will be displayed.
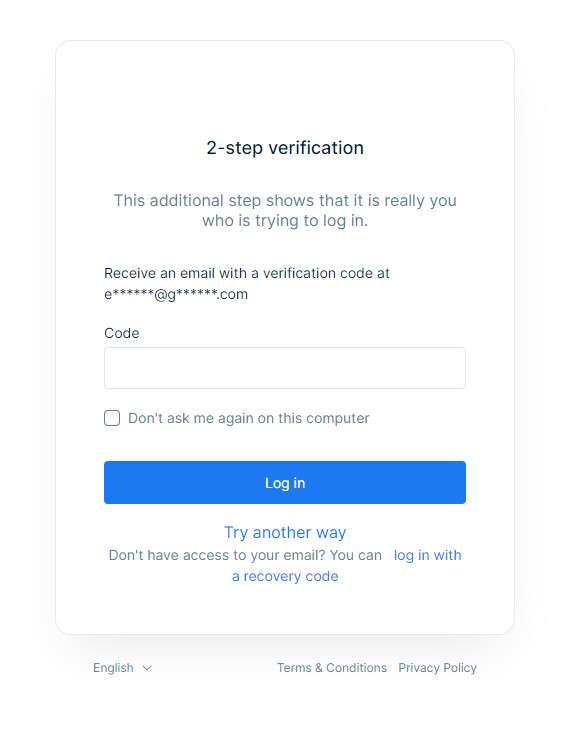
Get the code from the Email you’re using and input it in the Code field then go on by clicking Log In.
If a user is having trouble authenticating with Two-Factor Authentication in Porta, the authentication can be turned off via an administrator in the Porta Admin.
And if you lost access to both of them, do not worry Porta offers another way to log in as we mentioned earlier, use the Recovery Codes for a one-time login.

Do that by clicking log in with a recovery code.
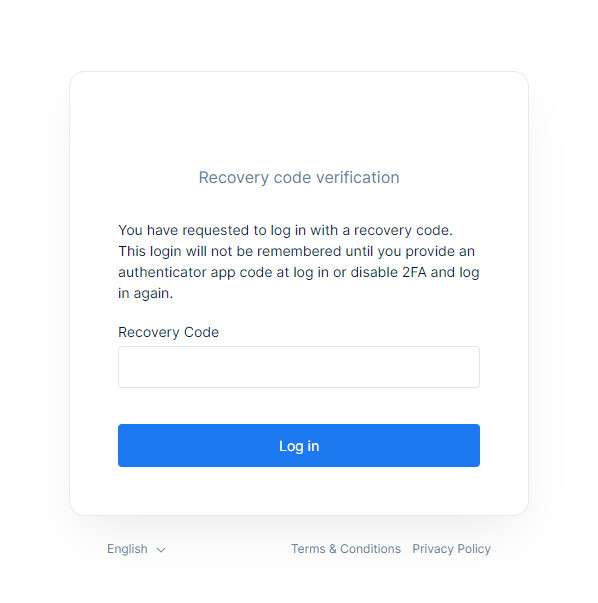
In the Recovery Code field, input one of your recovery codes and then proceed to your Porta Account by clicking Log In.
Account Recovery
After finishing everything up about the Two-Factor Authentication go back to the Security section and take a look at the Ways we can verify it’s you - Email Recovery.

Your recovery email address sometimes called an “alternate” address, is an additional email address you list in your account settings, often in Security settings. It is used when you are unable to sign in normally into your Porta Account, it can be used in cases when one might forget their email address.
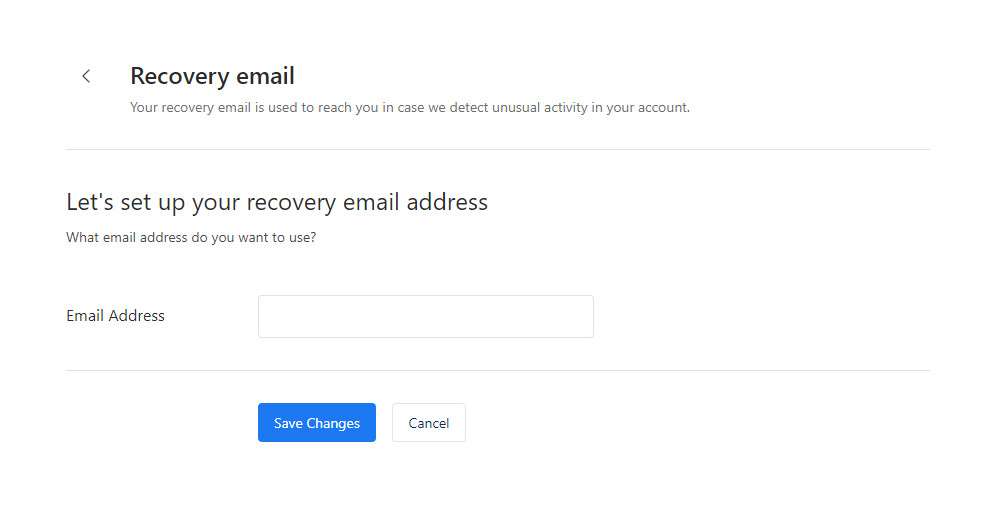
In the Email Address field input an email different from the one you’re using currently on your Porta Account and then click Save Changes to save the changes or Cancel to discard them.
Once that is done, a window will pop up to confirm the recovery email.
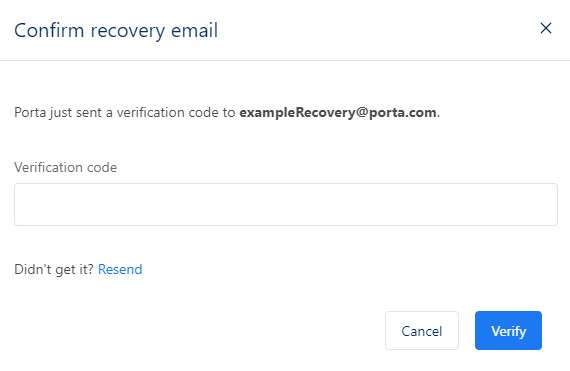
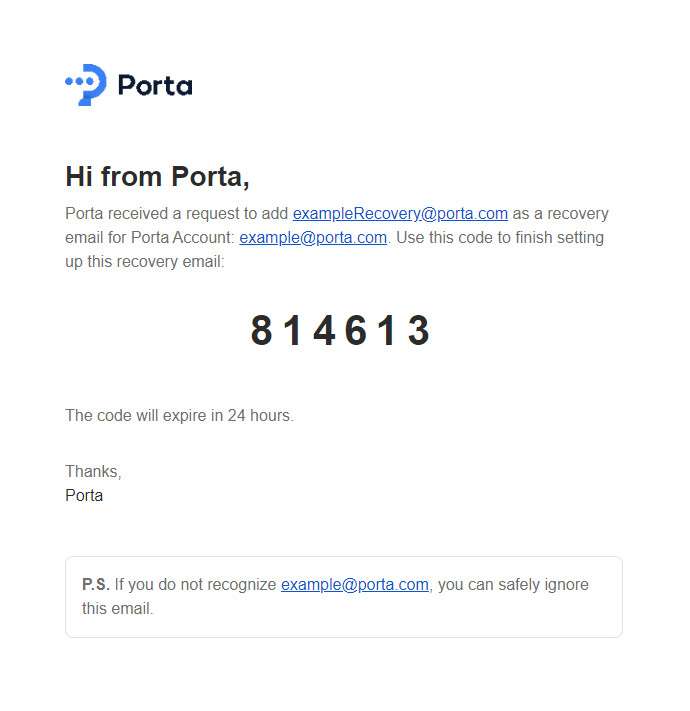
To find the code, go to the email that you just inputted in the Recovery Email Address field and it looks something like the following:
Once done setting up your Recovery Email, you can Reset your Recovery Email by clicking the Reset button.
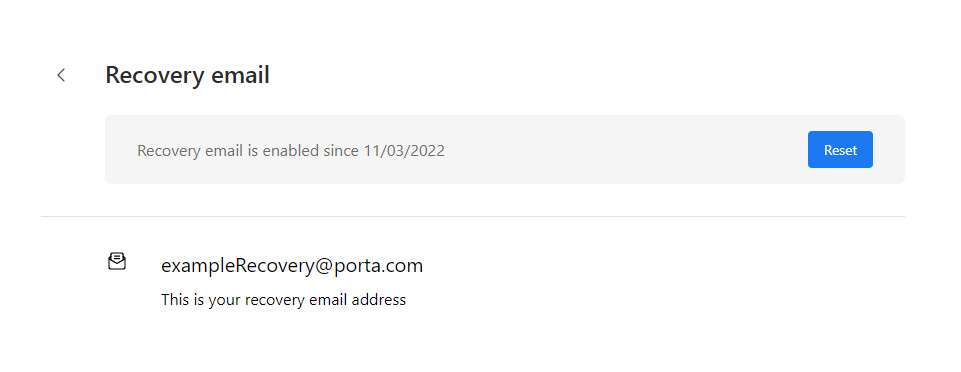
On click, a request to remove the Recovery Email will be sent to the main email and the recovery email. You would have to confirm it on both emails.
Permissions
Under the 'Security' section users can view which on applications they have authorized access with their account. Users can view the name of the application they have authorized access with, when this access was granted, when this access will expire, and the permissions they have provided under 'Identity Grants'. Users are also provided with the option to 'Revoke Access' to an individual application whereby they will be signed out from that application.