API Scopes

Scopes are a mechanism for limiting an application’s access to a user’s account. An application can request one or more scopes and the access token issued to the application will be limited to the scopes granted.
API Scopes help developers:
Decide which pieces of information they would like the application to access on a user's behalf.
Define different access levels using custom scopes.
Identify what these scopes are so that calling applications can use them.
Standard Scopes
OpenID(required, string) - This is the only mandatory scope and will return a sub claim which represents a unique identifier for the authenticated user.
Profile(string) - This scope value requests access to the End-User’s default profile Claims, which are: name, familyname, givenname, middlename, nickname, preferredusername, profile, picture, website, gender, birthdate, zoneinfo, locale, and updated_at.
Note, these claims are returned if Porta has the information available.
Phone(string) - Returns a phone_number claim.
Offline_access(string) - Version 2.0 only. When this scope is supplied with Password Grant a refresh_token allowing offline access will be returned. Using this scope with Implicit or Authorization Code flow will cause an error.
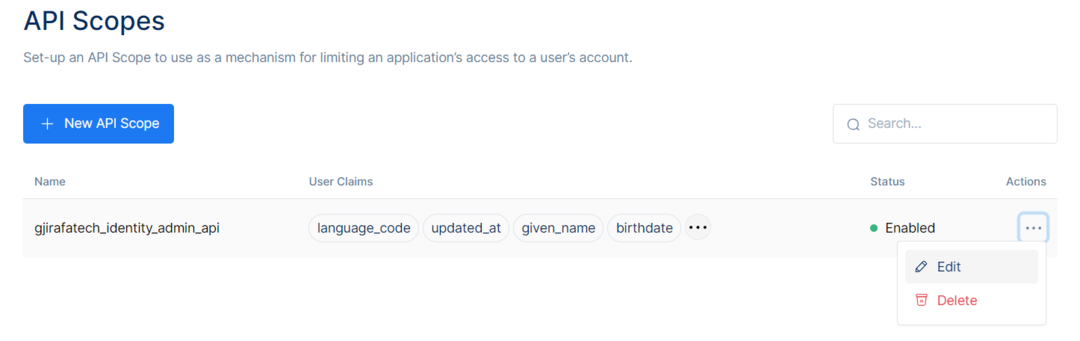
The Scopes constrain the endpoints to which a client has access and whether a client has read or write access to an endpoint. Going into the API Scopes Section, there will be the current API Scopes in the API Scopes Table:
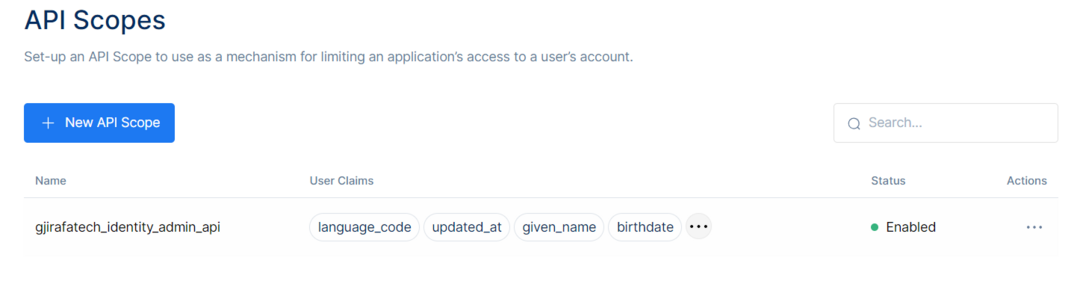
Each has an API Scope Name, User Claims, and Status.
Name will inform the Display Name of the API Scope.User Claims will show the User Claims selected.The status will show if the API Scope is Enabled or Disabled.Create a new API Scope by clicking the New API Scope button and search for available API Scopes by using the Search Bar on the top right.
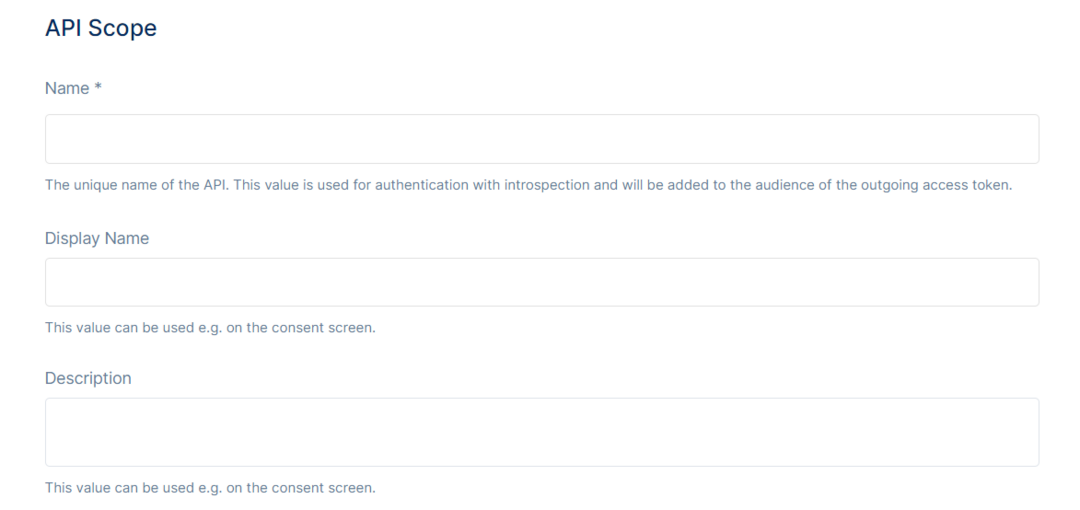
Once clicking the New API Scope button, the page gets redirected to the API Scope Information Page, then input the fields with the information required.
Give the API Scope a Name, which would be a unique name for the API Scope, that would be the value used for authentication with introspection and will be added to the audience of the outgoing access token.Then the Display Name, which would be the name that will be displayed, for example, on the consent screen.And the last input field would be the Description field, input a description for that specific API Scope. This would be displayed on the consent screen as well.
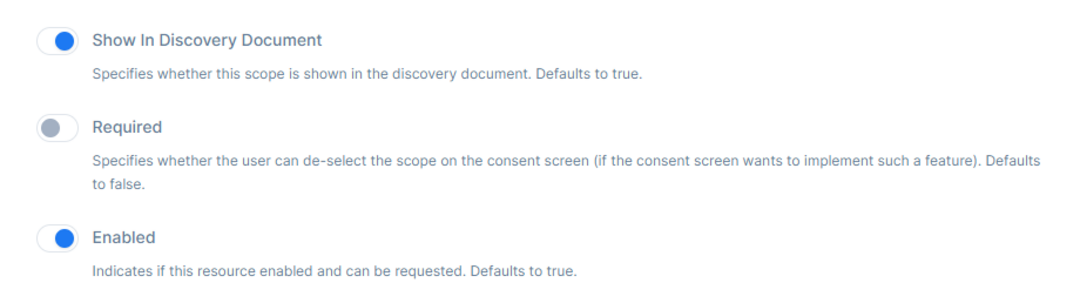
After the input information is filled, there is the option to Show In Discovery Document, which specifies whether this scope is shown in the discovery document. The default value is set to true.
Then, Required specifies whether the user can deselect the scope on the consent screen. The default value would be set to false.
And in the end, there is Enabled, which indicates if this resource is enabled and can be requested. The default value is set to true.
Then, pick the User Claims to be included in the access token.
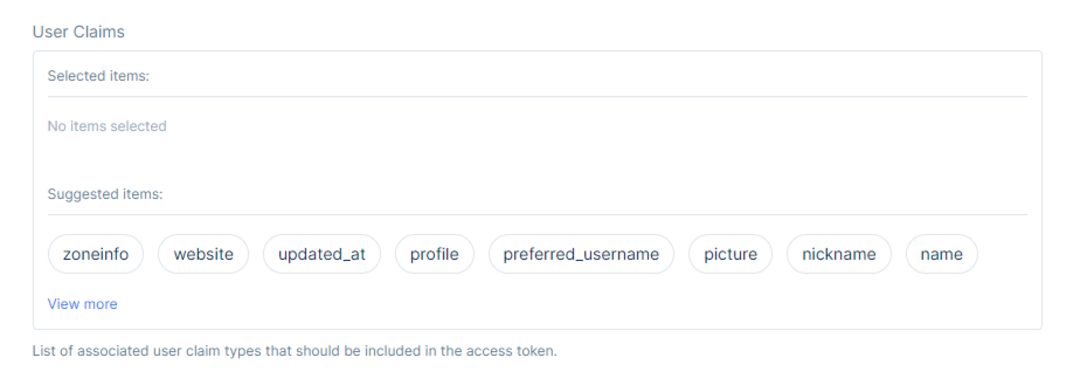
Pick the User Claims by clicking on them, and then click Save to save the changes made.
To Edit a current API Scope, click on the Edit button at the three dots on the right side of the Status.
After clicking the Edit button, the page gets directed to the API Scope Information page, which will contain the same fields of information as the API Scope, but here will be the option to Manage API Scope Properties and the Sensitive Actions section, which includes the Delete API Scope option.
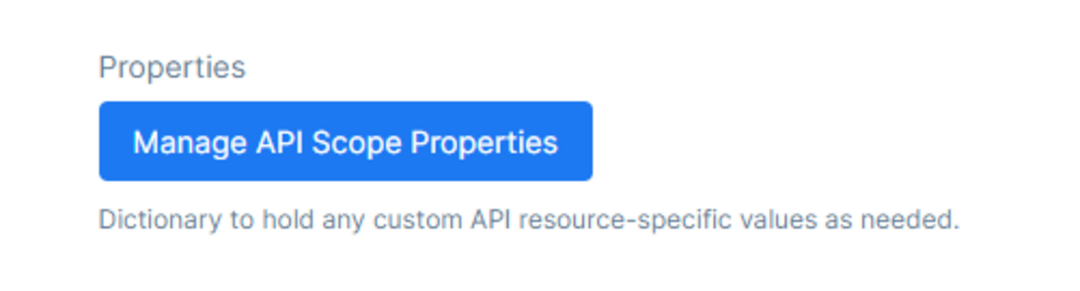
To manage API Scope Properties click the button that will direct the page to the Properties Section regarding the API Scope. Here is the option to hold to any custom API resource-specific values as needed.
Give the API Scope Properties a Key and a Value.
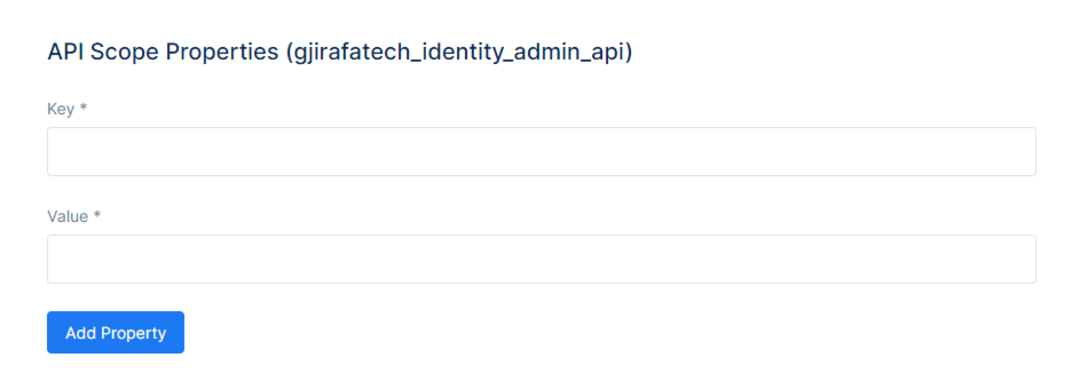
Then, click Add Property to add it to the Property Table.

In the Sensitive Actions Section, there will be the Delete option. Deleting the API Scope will not allow an app to request permission to access the specified resource through an authorization server.

This action cannot be undone once it is committed.
In the end, save the changes by clicking the Save button or cancel them by clicking the Cancel button.