My Account

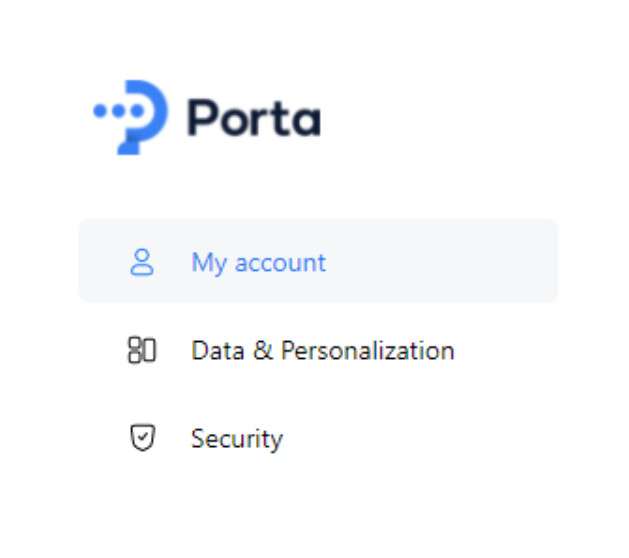
When first entering inside your Porta Account, you will land on the My Account section.On the left, there is Porta’s sidebar where you can access different sections such as My Account, Data & Personalization, and Security.
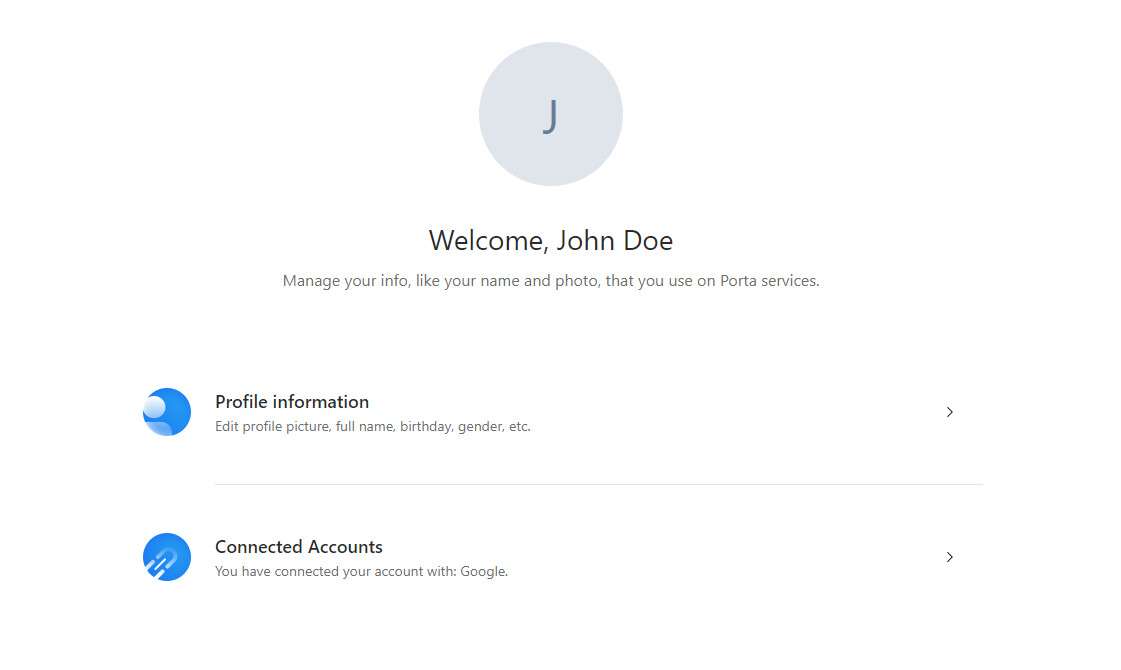
In the center, there is the My Account section, where you can access the Profile Information and Connected Accounts.
And on the top right, see the small icon and click it. There are accessible sections such as Profile, Account Settings, Language, and Logout.
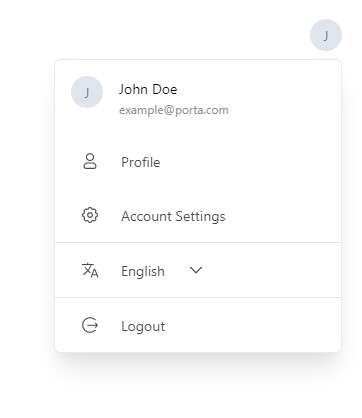
Language can be changed just by clicking the down-arrow and selecting the languages that Porta supports, such as English, Czech, and French.

Profile Information

Profile information is the place where you set up all of the information such as First Name, Last Name, Birthday, Gender, Password Changes, Phone Number, and Email Address.
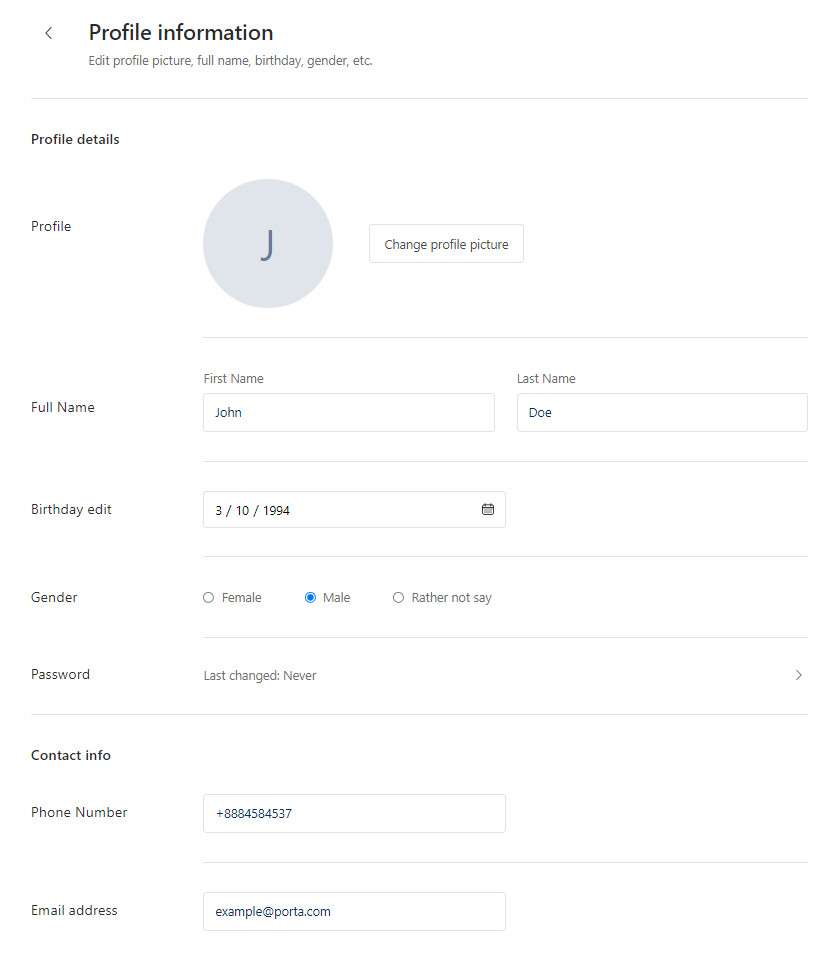
You can change your Profile Picture by clicking Change profile picture and a small window will pop up.
Click Browse and select an image from your device then go ahead click Set as profile picture.
Once done with the Profile Information setup, click Save Changes to save the new changes or Cancel to discard them.
When back to My Account section, see the Connected Accounts section. This section displays whether you have any external or social providers connected to your Porta Account.

To connect to a third-party service or a social provider, just go ahead and click the little blue Connect button, then a new page will appear for that specific social provider where you would have to log in with, and that social provider would be automatically connected to your Porta Account.
For example, Google.

After you connect it, it will be shown as the following:
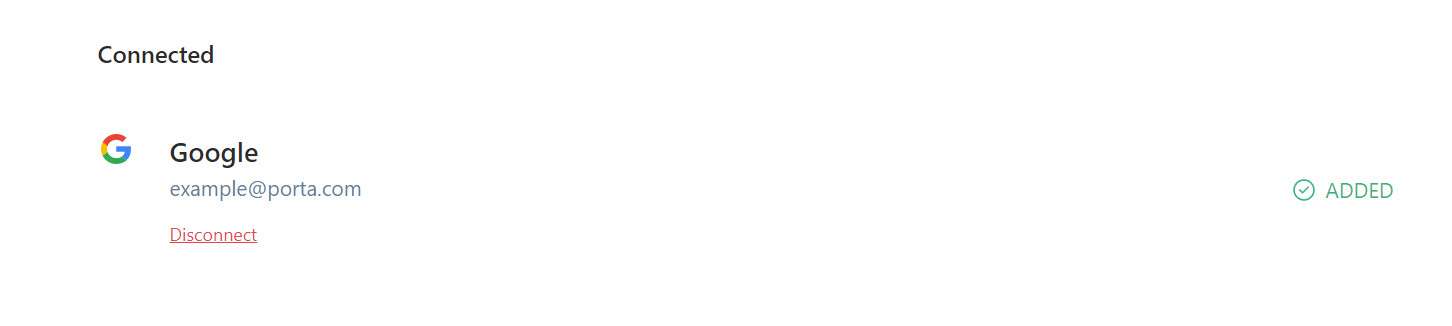
To Disconnect an already connected third-party service or social provider, do that just by clicking the red Disconnect button.
Contact Support
Contact support offers users the ability to request any information to the support team of your organization.
Porta offers the Contact Support option under the user's account so that users can easily send messages. Contact Support is located on the footer and therefore is visible to the user at all times. The emails are sent to the support email that is entered under “Organization Details” in the Porta Admin.
On click of the “Contact” link that is located at the bottom of the page, the Contact Support modal is displayed.
The Contact Support modal prompts the user to enter their message and displays the email address they are sending the message with. The message may contain up to 1000 characters. After entering the message, the user may click on Send to send it. If the user would like to discard the message, they may click on Cancel or close the modal.