Integrations

Under Integrations, one is able to configure and manage email hosting services.
It implements email servers to send, receive, accept and store email for organizations or end-users on their behalf. At this time, Porta offers integration options with SmartEmailing. If not configured, all emails will default to Porta’s internal email hosting service.
If choosing SmartEmailing, one is directed to the configuration page.
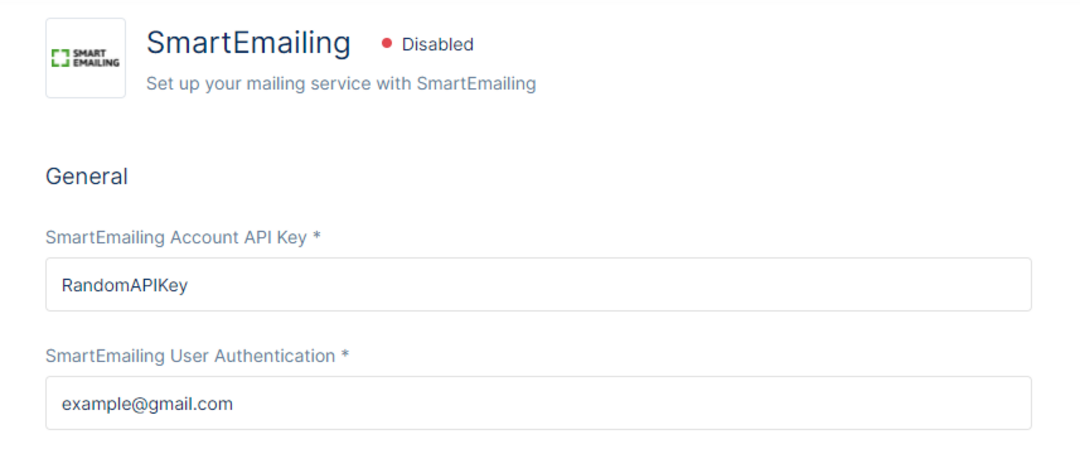
In the SmartEmailing Account API Key, input the API Key and the SmartEmailing User Authentication credentials (an email address) that is provided from the SmartEmailing account in order to establish the connection between Porta and SmartEmailing.
In addition, one must configure the From, ReplyTo, and Sender Name. The ‘From’ field determines the email address that is displayed when an email is sent from SmartEmailing. The ‘Reply To’ field determines the email address where emails are received when users use the reply to option in their email. ‘Sender Name’ determines the name that is displayed when sending emails to users.
Parameters determine the type of information that will be replaced when sending emails to users via SmartEmailing. For example, a parameter ‘usersgivenname’ can be used to replace a user’s First Name on all emails.
Please note that when configuring a template on SmartEmailing you must use the ‘replace’ notation before every parameter for it to take effect. For example, to replace a user’s First Name, you must use {{replace_usersgivenname}} in the template you configure in SmartEmailing. The replacement must be typed in lowercase letters. The given name will still appear as the user has entered during signup, i.e. if uppercase is used, an uppercase is shown. The same applies to all other parameters.
Please note that bolding the replaced text will cause the connection to break and the parameter will not be replaced.
The Default Parameters are parameters that repeat in multiple emails sent to users. It is not required to use all these parameters.
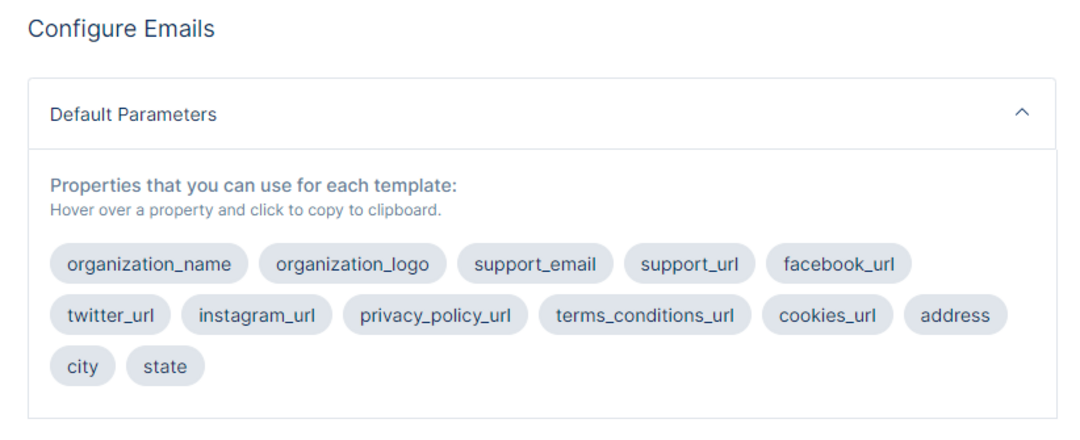
Use these parameters for each template of choice. Copy them by clicking on each one individually.
Below you will find all the emails Porta sends to end-users during their various interactions with their identities along with their descriptions.
Account Deleted Information - This email is sent to the user when an administrator deletes their account by going to the User Details in the Porta Dashboard.
Confirm Account Registration - This email is sent to users when they first sign-up. To complete their sign-up, users must verify their email address by clicking the link that is sent on sign-up.
Confirm Account Registration from Administrator - This email is sent to users to confirm their accounts when the administrator uses the 'Send Verification Email' option for any user. This can be used in cases when a user did not receive the verification email when one first registered.
IP address blocked - This email is sent to the user notifying them that the IP address in which multiple failed login attempts have been made, has been blocked.
MFA Setup Invitation - This email is sent to users inviting them to set up Multi-factor Authentication (MFA) when the administrator uses the ‘Send Enrollment Verification’ function under User Details in the Porta Dashboard. The email contains information on how users can enroll for (MFA).
Reset Password - This email is sent to the user when using the ‘Forgot Password’ function on the login page. The email contains information on resetting the password along with a link that redirects the user to the Reset Password page.
Reset Password by Administrator - This email is sent to users when an administrator uses the ‘Reset Password’ function under User Details in the Porta Dashboard. The email contains information on how users can reset their password.
Send Email OTP - This email is sent to the user when they use their email MFA during login. The user will receive a code in their email address which they will need to enter during login to verify their authentication.
Send Magic Link - This email is sent to the user when they use their email during login via magic link. The user will receive a link in their email address which they will need to open popup window to verify their authentication.
Send Email OTP Administrator - This email is sent to the user when they first set-up their multi-factor authentication using their Email address. To complete the set-up the user receives a code in this email which they must input in their account during the set-up in order for the MFA to be enabled.
Set Password - This email is sent to the user when an administrator creates an account for them via the Porta Dashboard. The user will be invited to set a password for their account before they can access their newly created account.
User Data Export - This email is sent to the user when they request a data export via their account.
Delete Data - This email is sent to the user when he/she makes a request to delete the data via their account. The email contains information about this request as well as the link which after clicked deletes the data for the user that made the request.
Delete Account Request - This email is sent to the user when they decide to delete their account. The email contains the button for account deletion confirmation.
Delete Account Fully Completed - This email is sent to users to inform them that their account is completely removed from all our services.
Each email must be mapped to a respective template you have created in SmartEmailing. To establish this mapping, please enter the Email Template ID taken from your SmartEmailing Administration Panel. Once finished with your configuration, click Save to save the changes or Cancel to discard the changes.
Please note that after completing the configuration, you will need to enable the SmartEmailing integration for the changes to take effect and emails to be sent from SmartEmailing. Toggling this off will default back to the Porta default emails.