Manage Application Settings

An overview of different application settings and how one would manage them.
To manage applications, on the left-side menu, navigate to Clients and then Applications.
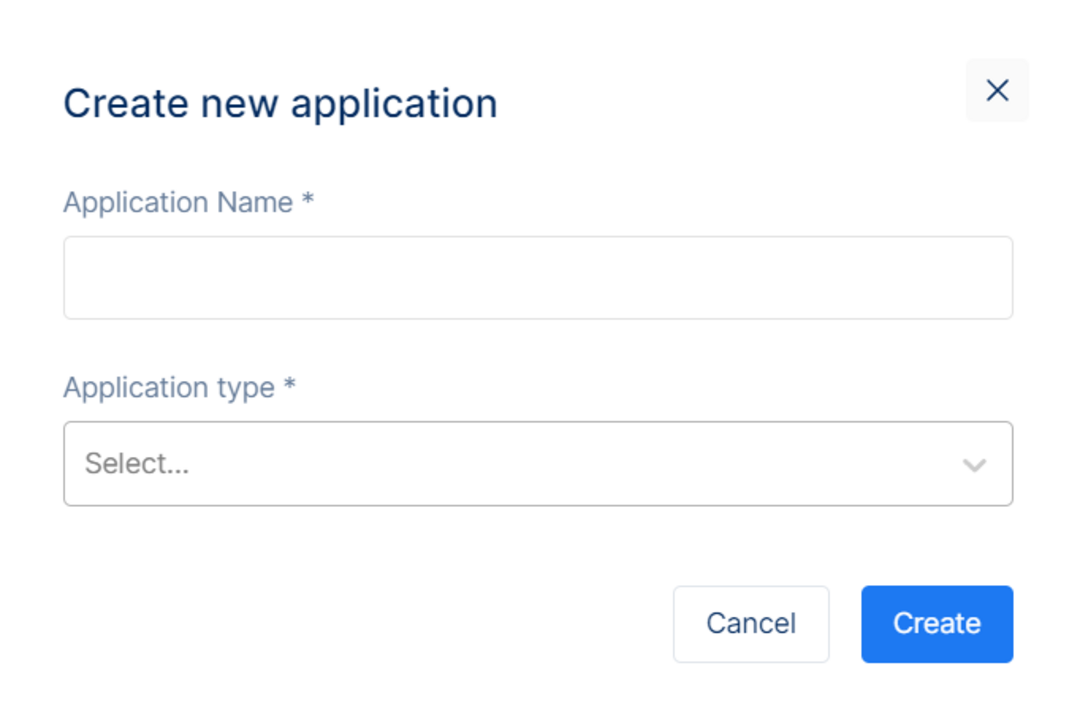
Creating an application
On creating an application, a Client ID is automatically generated. You can now manage the authentication settings related to your application. You will need some details about that application to communicate with Porta. You can get these details by navigating to the Basic Information page which contains additional information on the application that you will need to configure. To complete a basic configuration you will need the following:
Client ID
Client Secret
The Client ID is automatically generated. You can copy this ID to the clipboard when configuring the application on your end. Below you will find information on the settings related to the application and how to use them.
Client ID - This is a public identifier for the apps. Although public, it is recommended that this is not guessable by third parties as it makes it slightly easier to craft phishing attacks. This is unique across all clients handled by the authorization server.
Require Request Object - Specifies whether this client needs to wrap the authorized request parameters in a JWT (defaults to false).
Require PKCE - Specifies whether clients using an authorization code-based grant type must send a proof key.
Allow Plain Text PKCE - Specifies whether clients using PKCE can use a plain text code challenge. Defaults to false. This is not recommended because the code displayed in plain text can give information regarding how the code was generated, giving access to someone to replicate and attack the application. Hashing the code helps to keep the code safe and it won't be shown how it was generated.
Allow Offline Access - Specifies whether this client can request refresh tokens (be requesting the offline_access scope).
Allow Access Token Via Browser - Specifies whether this client is allowed to receive access tokens via the browser. This is useful to harden flows that allow multiple response types (e.g. by disallowing a hybrid flow client that is supposed to use code id_token to add the token response type and thus leaking the token to the browser.
Allowed Scopes are used to determine the list of scopes that the client is allowed access to.
In the Allowed Scopes section, one can choose the allowed resources by adding corresponding scopes names. An option is provided to specify the allowed resources by clicking on each.
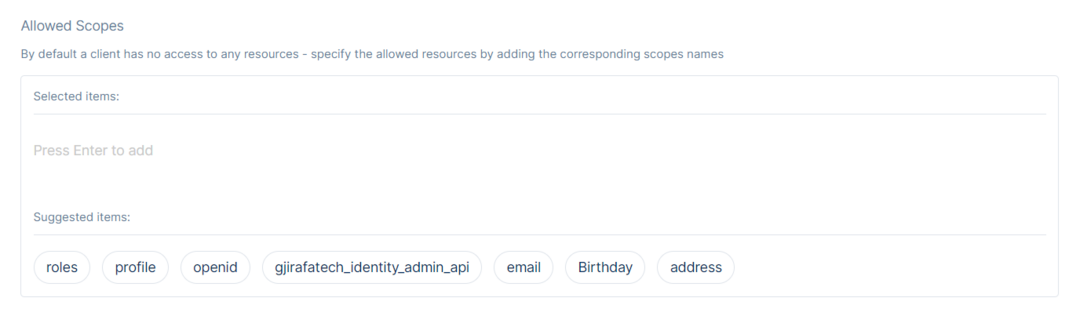
List of scopes the client is allow to access
In the Allowed Redirect URLs, add the URLs that will only call back to any of these provided URLs after the user authenticates with the application.
Specify multiple URLs by writing their names on the text field and pressing Enter.

Please make sure to also specify the protocol
In the Allowed Grant Types part, specify the client’s grant type allowed to be used. Then, add the grant types by clicking each depending on your choice.
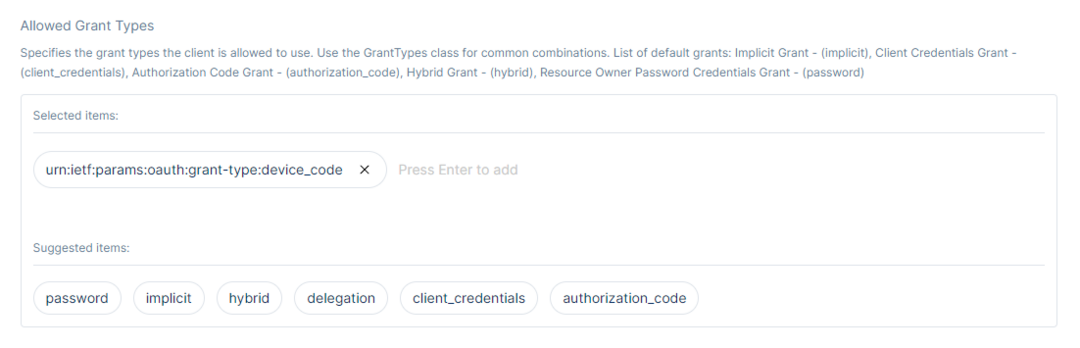
Grant types that clients will be allowed to use
Client Secrets is a list of client credentials to access the token endpoint. In addition, there will be the option of Managing Client Secrets.
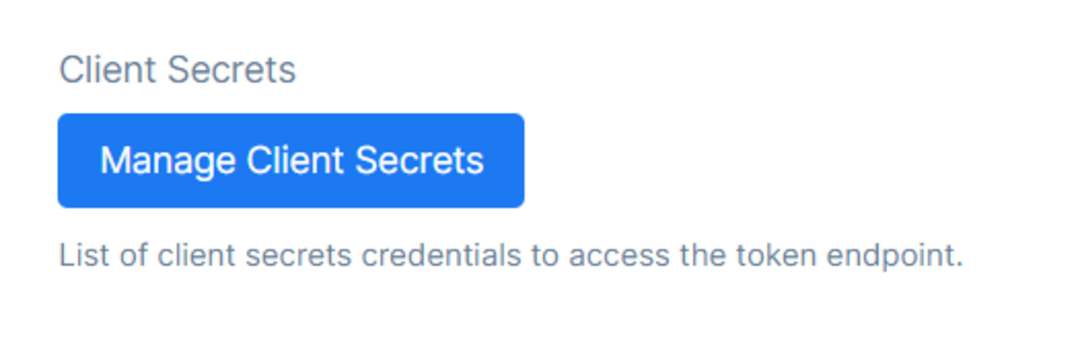
List of client secrets credentials to access the token endpoint
Clicking on the Manage Client Secrets will redirect to the Application Secrets page.
In certain situations, clients need to authenticate with IdentityServer, e.g.:
Confidential applications (aka clients) requesting tokens at the token endpoint
APIs validating reference tokens at the introspection endpoint
For that purpose you can assign a list of secrets to a client or an API resource. Secret parsing and validation is an extensibility point. Out of the box it supports shared secrets as well as transmitting the shared secret via a basic authentication header or the POST body.
In the Application Secrets, there will be the Secret Type Field, Secret Value Field, Hash Type List, Expiration Date, and the Secret Content Table.
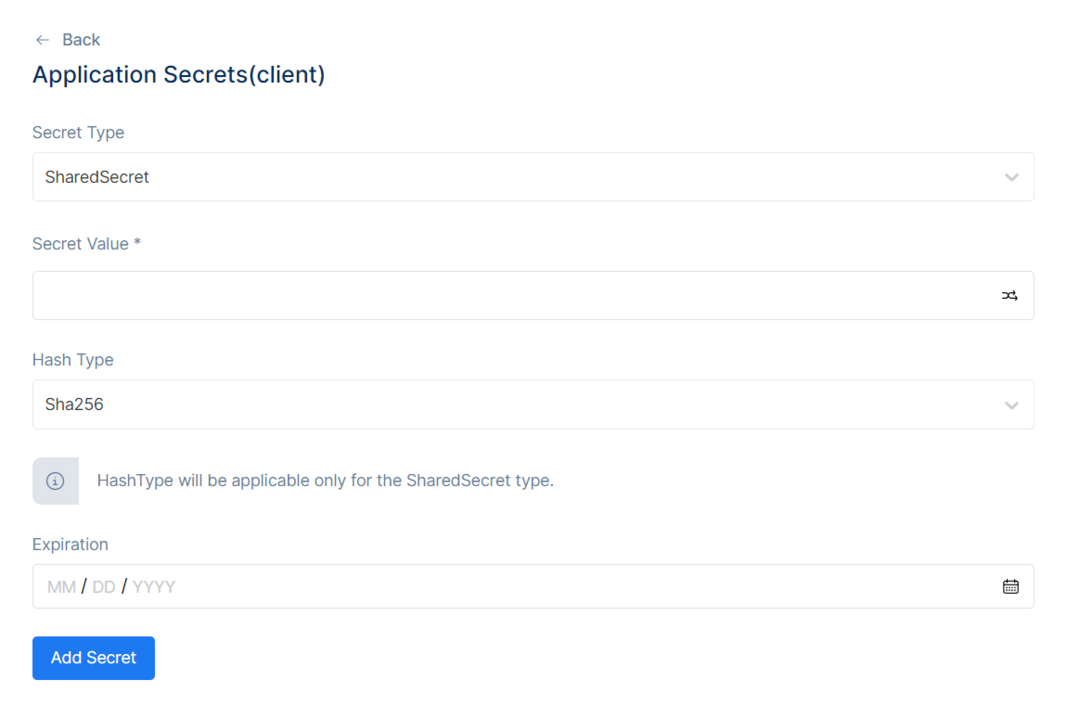
Application Secrets
Some of the key inputs when managing client secrets include:
Secret Type - A string that gives the secret validator a hint what type of secret to expect (e.g. "SharedSecret" or "X509CertificateThumbprint").
Secret Value - The value of the secret. This is being interpreted by the secret validator (e.g. a "password"-like shared secret or something else that identifies a credential).
Hash Type - Hashing Algorithm Type. HashType will be applicable only for the SharedSecret type.
Expiration - A point in time, where this secret will expire.
After filling the information, click Add Secret, and the Secret will be added to the Secret Content Table.
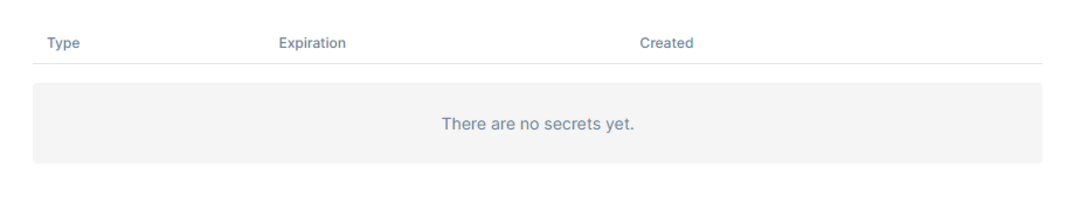
Client Secrets Table
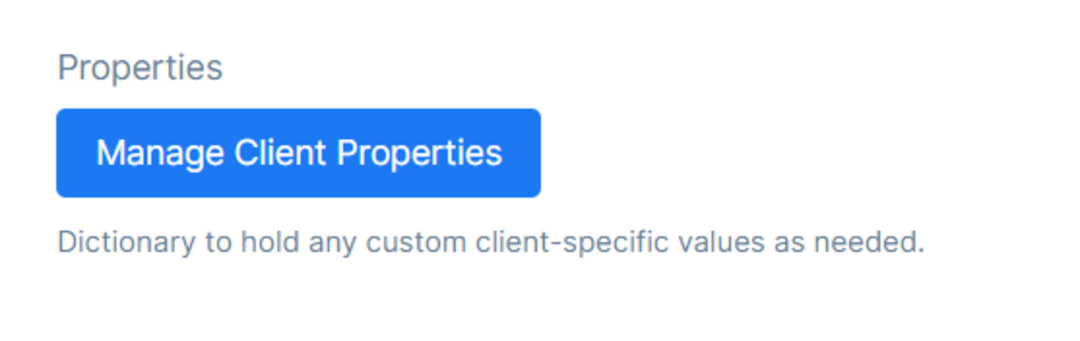
Other than Managing Client Secrets, there will be the option to Manage Client Properties.
There will be a dictionary to hold any custom client-specific values as needed.
A Diction
After clicking the Manage Client Properties button, it will redirect the page to the Application Properties Page for that specific type of application chosen to edit in the steps before.
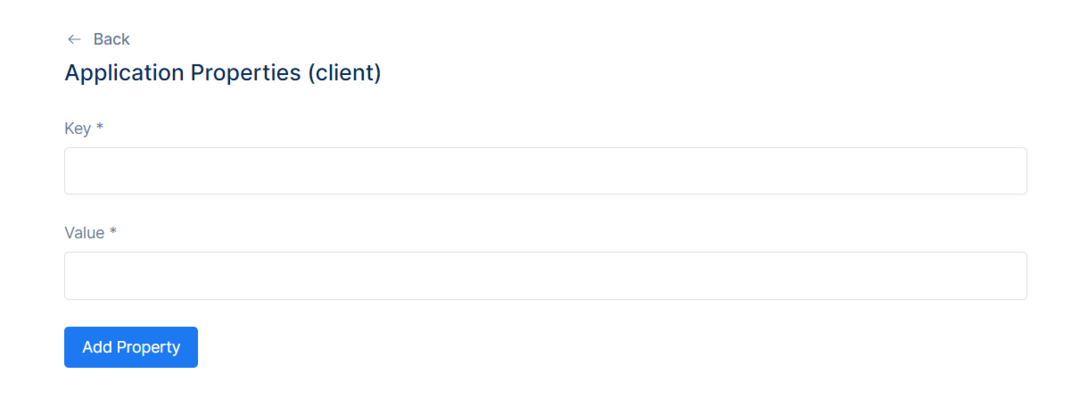
Application Properties
There will be an option to provide a Key and a Value to add them to the Property Table on this page. After adding the desired Key and Value, click Add Property, and the property should be added to the Property Table.

Properties Table
Once done with Managing Client Properties, go back to the previous page.
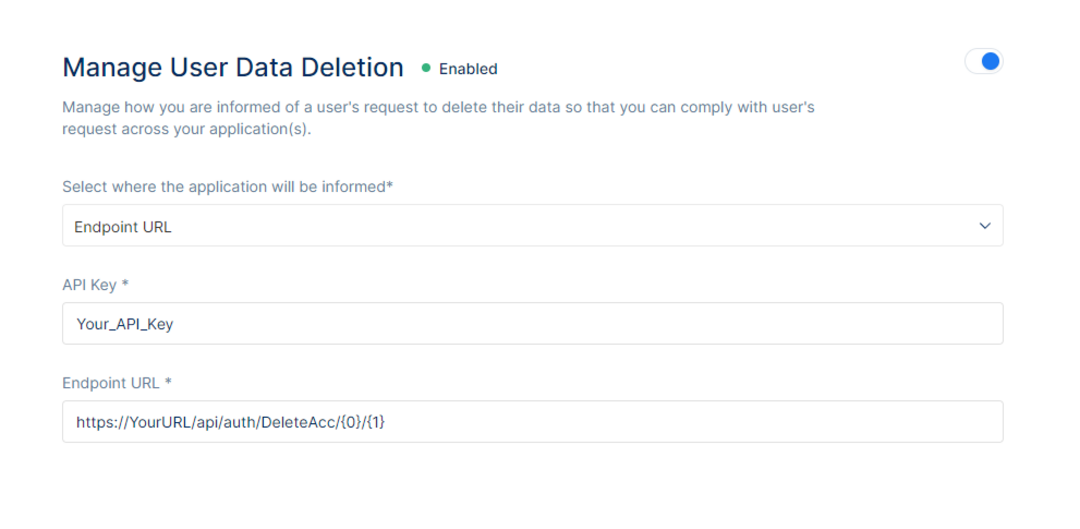
Manage User Data Deletion will be displayed.

User data deletion now can be managed via the Porta Admin Panel.
Porta allows the administrator to manage how the information will be received when a user requests to delete their data, so that it will be compliant with the user’s request across the application(s).
To manage the user data deletion, one would have to select where the application will be informed. There are two (2) options available, the first one would be via an Endpoint URL and the second one would be via Email.
If the Endpoint URL flow is selected, one would also need to set up the Endpoint URL where the call will be made. After the Endpoint URL is set up, an API Key would also be required to be set up in order to call the Endpoint URL that was set up for the user data deletion confirmation to be successful. When setting up the Endpoint URL, the first parameter represents the User Id of the user that is about to be deleted, and the second parameter represents the Call Back URL where the other clients would have to call to confirm user account deletion.
Otherwise, if the Email flow is selected, one would need to set up an email where the user data deletion confirmation emails would be received once the user is permanently deleted from the application(s).

Once done with the user data deletion management, go back to the previous page.
There will be a text field to add the Allowed Origins (CORS), URLs allowed to make requests from JavaScript to Porta API, typically used with CORS.

Under the Allowed Origins, there will be the ID Token Expiration Time, Access Token Lifetime, and Device Code Lifetime.
These fields help determine the time for each token or code in seconds.
ID Token Expiration will determine the lifetime of the identity token in seconds. The default is 300 seconds or 5 minutes. An identity token represents the outcome of an authentication process. It contains at a bare minimum an identifier for the user (called the sub aka subject claim) and information about how and when the user authenticated. It can contain additional identity data.
Access Token Lifetime will determine the lifetime of the access token in seconds. The default is 3600 seconds or 1 hour. An access token allows access to an API resource. Clients request access tokens and forward them to the API. Access tokens contain information about the client and the user (if present). APIs use that information to authorize access to their data.
Device Code Lifetime will determine the lifetime of the device code in seconds. The default is 300 seconds or 5 minutes. Device Flow is a flavor of OAuth 2.0 optimized for browser-less and/or input-constrained devices. Things like TVs, gaming consoles, printers, cash registers, audio appliances etc. come to mind here. In this case the device code is returned after the client does a “Device authorization request”.


Once done with the Basic Information, check the Advanced Settings right below.

After clicking the Advanced Settings, more information regarding the advanced settings will appear right underneath.
Then, there will be the Sensitive Actions, the option to delete your application. Deleting an application will make that application non-revocable, so the users that were using that application before cannot use it anymore. The action cannot be undone.

Another option is the Application Logo, to set an application logo of choice.
This logo will only be displayed on the clients list.
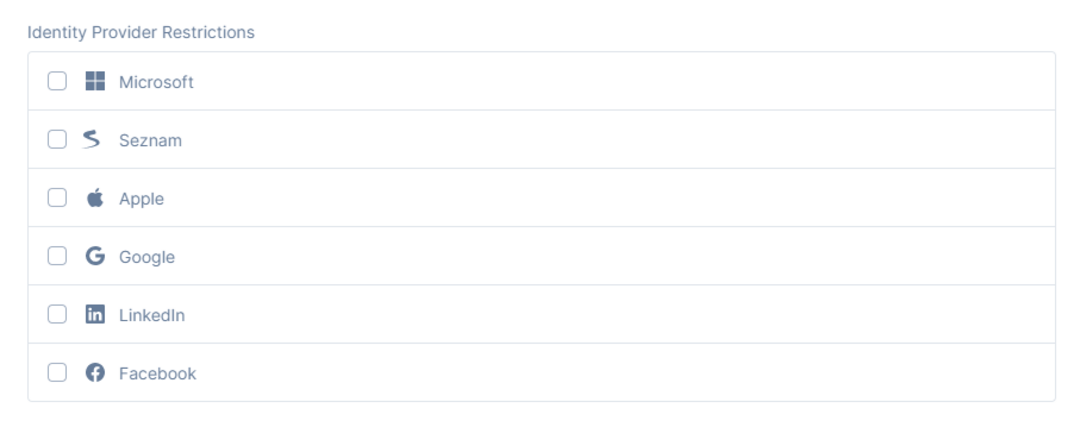
Identity Provider Restrictions allow one to decide which identity provider is provided as an option for the users to log in with. Selecting an identity provider will not show it as an option in the login page. If none of the social providers are selected, i.e. they are all left unchecked, all social providers will be displayed in the login page. If all are selected, they will also be displayed in the login page.
Please note: Porta will display only the Identity Providers that the client provides the required credentials for since the configuration is done by the Porta engineers. At this time, configuring social providers via the Porta Dashboard is not available.
Under the Post Logout URLs one can set the valid URLs to redirect to after logout from Porta. After a user logs out from Porta, you can redirect them with the returnTo query parameter. The URL that you use in returnTo must be listed here. You can specify multiple valid URLs. The start (*) symbol can be used as a wildcard for all paths. Query strings and hash information are not taken into account when validating these URLs.


The Front Channel Logout URL specifies logout URI at client for HTTP based front-channel logout. Please see the OIDC Front-Channel specifications for more details.
Some considerations for Front Channel Logout
Some User Agents (browsers) are starting to block access to third-party content by default to block some mechanisms used to track the End-User's activity across sites.
Specifically, the third-party content being blocked is website content with an origin different from the origin of the focused User Agent window.
Site data includes cookies and any web storage APIs (sessionStorage, localStorage, etc.).
This can prevent the ability for notifications from Porta to the Clients/Applications from being able to access the Client/Application's User Agent state to implement local logout actions.
In particular, the frontchannellogouturi might not be able to access the Client/Application's login state when rendered by the Porta in an iframe because the iframe is in a different origin than the Porta's page. Additional details on Front Channel Logout can be found at https://openid.net/specs/openid-connect-frontchannel-1_0.html.
Client Claims Prefix, if it is set, then the prefix client claim types will be prefixed with Defaults to the client. This intends to make sure they do not accidentally collide with user claims.

The prefix client claim types will be prefixed with defaults to client_
Pair Wise Subject Salt will allow you to set the salt value used in pair-wise subjectID generation for the users of this client. The purpose of this is Confidentiality. To hide (encrypt) the local end-user ID from the recipient. The local user identifiers may contain sensitive or personal information, for example if based on the user's email address and Correlation prevention. As part of a strategy to minimize the possibility for linking user identities across token recipients. You can add salt as an extra security feature.

Front Channel Logout Session Required will allow you to specify if the user’s session id should be sent to the FrontChannelLogoutURI. The default value is set to true.

If enabling Front Channel Logout Session two parameters will be included in Front Channel Logout Request. These parameters are:
ISS- Issuer Identifier for the Client/Application issuing the front-channel logout request.
SID - Identifier for the Session.
The Client/Application MAY verify that any ISS and SID parameters match the ISS and SID Claims in an ID Token issued for the current session or a recent session of this Client/Application with the Porta and ignore the logout request if they do not.
Back Channel Logout URL specifies the logout URI at the client for HTTP-based back-channel logout. penID Connect Backchannel logout is a mechanism by which Relying Party (RP) applications are logged out with logout requests communicated directly between RPs and Porta bypassing the User Agent. Clients that wish to be notified must have the BackChannelLogoutUri configuration value set.

Back Channel Logout Session Required allows specifying if the user’s session id should be sent to the BackChannelLogoutURI. Default is set to true.

Similarly to Front Channel Logout Session this is used to identify the Client/Application session with Porta when the backchannellogouturi is used.
The SID (Session ID) Claim used in ID Tokens and as a Logout Token parameter represents a Session of a User Agent or device for a logged-in end-user at an Client/Application. Different SID values are used to identify distinct sessions at an Porta. The SID value need only be unique in the context of a particular issuer. Its contents are opaque to the Clients/Applications. Its syntax is the same as an OAuth 2.0 Client Identifier.
Enable Local Login allows to specify if this client can use local accounts or external Identity Providers only. Default is set to true. If turned off, users will be able to login only with External Providers depending on which providers have been configured and the inputs for entering credentials will be hidden from view.

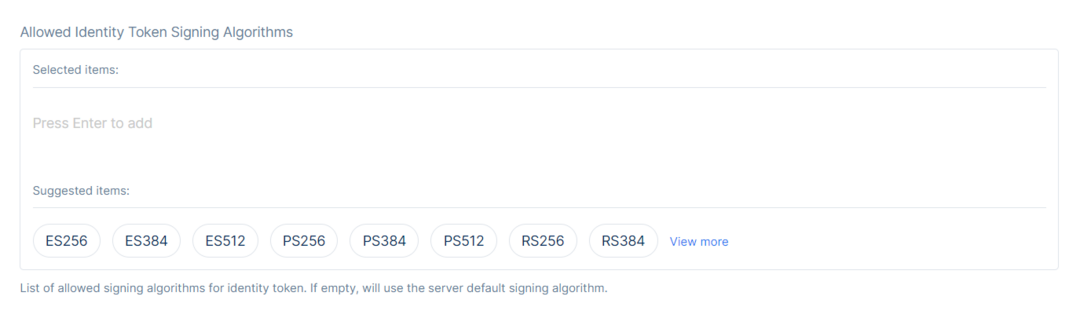
Allowed Identity Token Signing Algorithms is a list to enable a specific signing algorithm for identity tokens. If empty, it will use the server default signing algorithm.
User SSO Lifetime allows the option to decide the maximum duration in seconds since the last time the user authenticated. By default, it is set to null. One can adjust the lifetime of a session token to control when and how often a user is required to re-enter credentials instead of being silently authenticated, when using a web application.

Access Token Type allows specifying whether the access token is a reference token or a self-contained JWT Token. By default, it is set to JWT.

A JWT token is a self-contained access token. It is a protected data structure with claims and an expiration. Once an API has learned about the key material, it can validate self-contained tokens without needing to communicate with the issuer. This makes JWTs hard to revoke. They will stay valid until they expire.
When using reference tokens - token service will store the contents of the token in a data store and will only issue a unique identifier for this token back to the client. The API receiving this reference must then open a back-channel communication to token service to validate the token.
After deciding on the Access Token Type, there will be the lifetimes for Authorization Code, Absolute Refresh Token, and Sliding Refresh Token.Authorize Code Lifetime will determine the lifetime of the authorization code in seconds. The default is set to 300 seconds or 5 minutes.
Absolute Refresh Token Lifetime will determine the maximum lifetime of a refresh token in seconds after which the user must re-authenticate before being issued a new access token. The refresh token will expire on a fixed point in time (specified by the AbsoluteRefreshTokenLifetime). The default is set to 2592000 seconds or 30 days.
Sliding Refresh Token Lifetime will determine the sliding lifetime of a refresh token in seconds. When refreshing the token, the lifetime of the refresh token will be renewed (by the amount specified in SlidingRefreshTokenLifetime). The lifetime will not exceed AbsoluteRefreshTokenLifetime. The default is set to 1296000 seconds or 15 days.

Refresh Token Usage gives the option of keeping the refresh token handle to stay the same when refreshing tokens. OneTime the refresh token handle will be updated when refreshing tokens.

Refresh Token Expiration allows deciding when the absolute refresh token will expire at a fixed point in time. Sliding when refreshing the token, the lifetime of the refresh token will be renewed. The lifetime will not exceed Absolute Refresh Token Lifetime.

Then, under the Token Sections, there will be the Properties.
Under the Properties, there will be the Update Access Token Claims on Refresh, Include JWT ID, Always Send Application Claims, and Always Include User Claims ID Token.
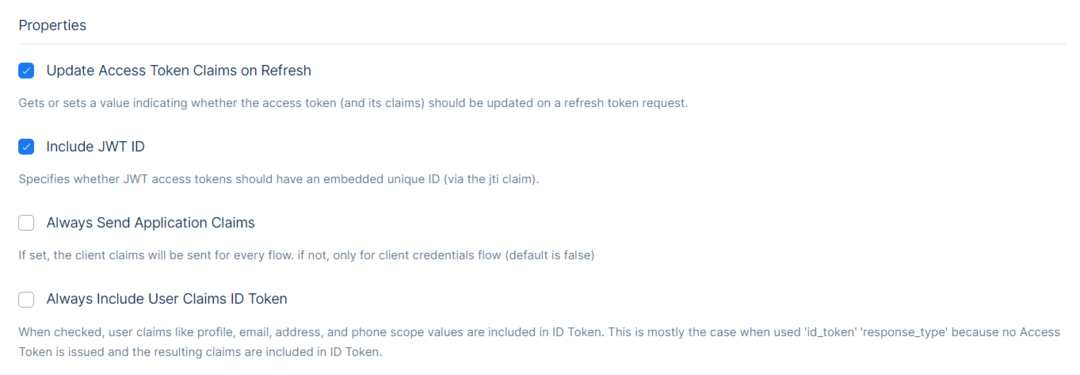

Once selected, Update Access Token Claims on Refresh allows to get or set a value indicating whether the access token that comes with its claims should be updated on a token refresh request. If left unchecked, access token claims will not be updated even though claims might change by the user in the meantime.

Include JWT ID once selected, it will specify whether JWT access tokens should have an embedded unique ID. Unique identifier can be used to prevent the JWT from being replayed (allows a token to be used only once).

Always Send Application Claims once selected, the client claims will be sent for every flow. If it is not selected, only for client credentials flow. The default is set to false.

Always Include User Claims ID Token once selected, user claims like profile, email, address, and phone number scope values are included in ID Token. This is primarily the case when user "id_token” and "response_type" because no Access Token is issued, and the resulting claims are included in ID Token.

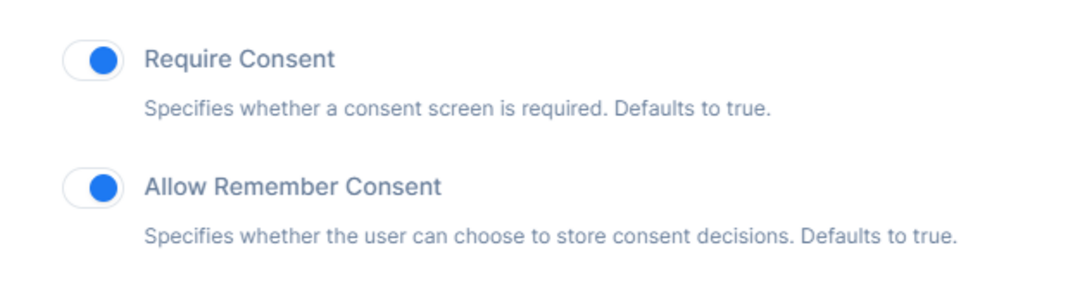
Then there is the Require Consent option and Allow Remember Consent.
The Require Consent allows specifying whether a consent screen is required. The default is set to true.
The Allow Remember Consent allows to specify whether the user can choose to store consent decisions. The default is set to true.
When toggled on, it will show a checkbox to users to allow them to remember that consent that is asked from Client/Application. So next time the user won’t be asked again.
When toggled off , it will not show a checkbox for remember consent, and everytime an Client/Application will ask for user claims it will ask for consent.
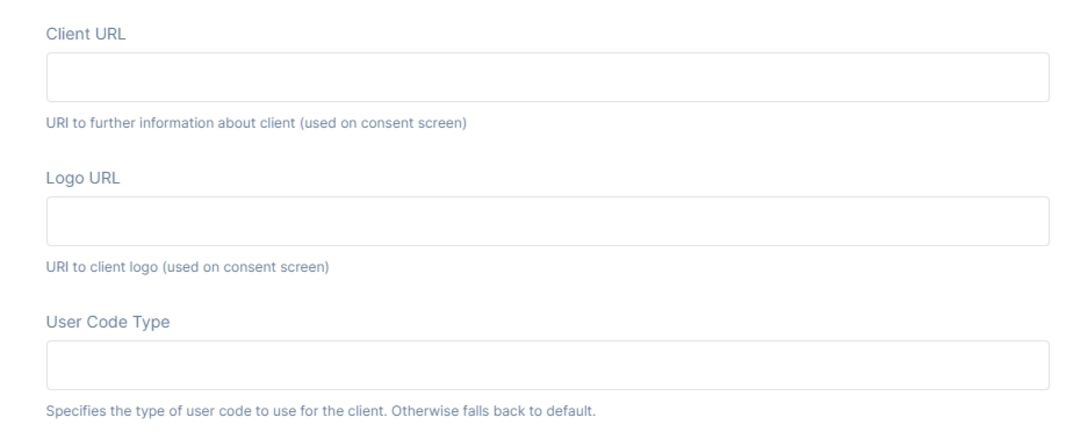
After deciding about the Consent, there will be information regarding the Client URL, Logo URL, and User Code Type.
Client URL will have a URI to further information about the client used on the consent screen.
Logo URL will have a URI to the client logo used on the consent screen.
User Code Type allows specifying the type of the user code to use for the client. Otherwise, it falls back to default.
After the information changes, click Save to save the changes.
